Բարեւ Ձեզ everyone!
Hello in Armenian. Hehe.
I realized that it's been quite some time since I put up the last post. I moved to another city for my studies a few months ago. Since then, I really didn't get time to actually come up with a new DIY project but hey! As I had mentioned in my first post, I will definitely update the blog with posts about the things I do and the things I love!
So here is one thing that I absolutely love: Snail mailing!
Postcrossing (sending and receiving postcards) and snail mailing is something that I started barely 5 months ago and let me tell you, it's darn addictive!
My first penpal was from France (awesome, right?) and I still remember the day I got the first letter from her! She had sent me a Yankee candle, and a little bottle of French perfume and a little bar of soap from Lush along with the beautiful handwritten letter. I think I was in Grade 10 back then!
So after my senior year examinations, I took up the hobby again and started sending out postcards and letters to people around the world and how I loved it!
Over a span of 2 months, I got some amazing penpals from around the world and people with whom I could swap postcards! Here are a few pictures of the snail mail I send and receive. Have fun!
And of course, I don't like sending out postcards with just a message and the address written on it! So here are the quirky things I do to my postcards!
I was introduced to washi tape after I started postcrossing. It is traditional rice paper adhesive tape with beautiful illustrations and designs on it. Unfortunately, there aren't any stationery outlets in India that sell washi but there are always online stores that make awesomesauce things available to you.
I make sure that I write a little something about the picture or the illustration on the postcard or a little personal message for people with whom I have already swapped postcards before.
I dislike using regular, boring stamps on the postcards so I make sure I visit the Head Post Office once in a while and get some interesting stamps for my letters and postcards!
I usually make my own envelopes. It gives me the freedom to design them according to the theme of my letters and also according to my likes and dislikes. :)


Hello in Armenian. Hehe.
I realized that it's been quite some time since I put up the last post. I moved to another city for my studies a few months ago. Since then, I really didn't get time to actually come up with a new DIY project but hey! As I had mentioned in my first post, I will definitely update the blog with posts about the things I do and the things I love!
So here is one thing that I absolutely love: Snail mailing!
Postcrossing (sending and receiving postcards) and snail mailing is something that I started barely 5 months ago and let me tell you, it's darn addictive!
My first penpal was from France (awesome, right?) and I still remember the day I got the first letter from her! She had sent me a Yankee candle, and a little bottle of French perfume and a little bar of soap from Lush along with the beautiful handwritten letter. I think I was in Grade 10 back then!
So after my senior year examinations, I took up the hobby again and started sending out postcards and letters to people around the world and how I loved it!
Over a span of 2 months, I got some amazing penpals from around the world and people with whom I could swap postcards! Here are a few pictures of the snail mail I send and receive. Have fun!
 |
| Some typical Indian postcards that I bought from South Bombay. |
 |
| Super adorable India-themed illustrated postcards from one of my favorite brands- Chumbak! |
 |
| Most of the times when I tell people that I am from India, the first thing they ask me is 'Do you have any Taj Mahal cards?' So here are some that I love sending out. |
And of course, I don't like sending out postcards with just a message and the address written on it! So here are the quirky things I do to my postcards!
 |
| Bwahaha. Wicked. :P |
 |
| This little dude is always printed on the Chumbak postcards and I always make sure I add a little Devnagri message bubble. नमस्ते~ |
 |
| I CANNOT work without these supplies! You only see a few here but as I say, these are my basic necessities! |
I was introduced to washi tape after I started postcrossing. It is traditional rice paper adhesive tape with beautiful illustrations and designs on it. Unfortunately, there aren't any stationery outlets in India that sell washi but there are always online stores that make awesomesauce things available to you.
 |
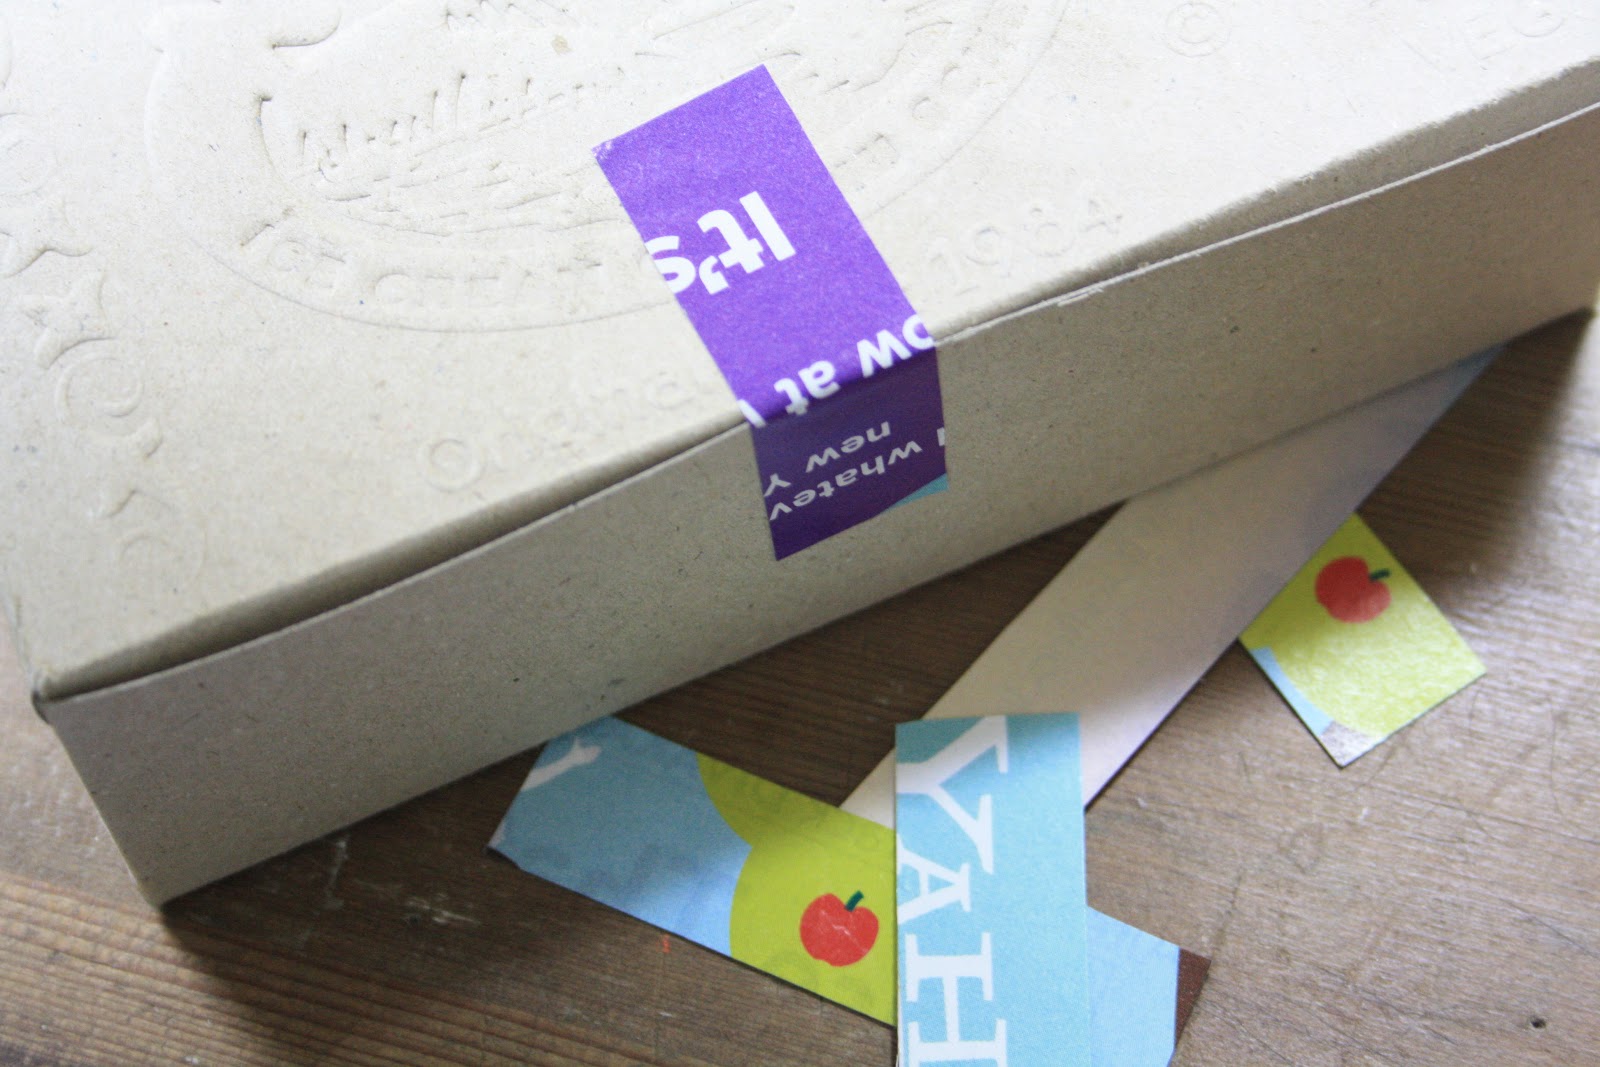
| So this is how they look after they are all prepped! |
 |
| Ready to go! |
I make sure that I write a little something about the picture or the illustration on the postcard or a little personal message for people with whom I have already swapped postcards before.
I dislike using regular, boring stamps on the postcards so I make sure I visit the Head Post Office once in a while and get some interesting stamps for my letters and postcards!
 |
| Notice the washi obsession. :P |
I usually make my own envelopes. It gives me the freedom to design them according to the theme of my letters and also according to my likes and dislikes. :)
 |
| Some of the mosaic envelopes that I've made! |
And sometimes when I am lazy and the number of outgoing mails pile up, this is what you'll see. :P
 |
| I am a lazy bum sometimes. |
And in return of all this, I get so many beautiful letters, postcards and stamps. I love each and every element of snail mail. Little things like the postmark of a particular post office, the 'Air Mail- Par Avion' sticker and mistakes that people make while writing down my address, haha!


 |
| Yeah, people send me such postcards. :P |
 |
| Beautiful stamps from Singapore and a shaped Moomin card from Finland. Of course I'm showing off my moustache ring. LOL! |
There is so much more that I could share but I guess this journey is endless and no matter how many pictures I upload and stories I share regarding my postcrossing experiences (including letters being missent to Thailand and what not, hahaha), I will always have something more to share the next time!
If you wish to write to me or simply tag along and see the pictures I share, you can follow me on Instagram @shivaniparasnis!
I hope you enjoyed this post! Please leave a comment and don't hesitate to leave a few suggestions regarding anything on my blog!
Lots of pyaar,
~ Shivani ~
P.S.- You can buy the lovely Chumbak postcards from their official website http://www.chumbak.com
All you Indians out there who are reading this post right now can buy some washi tape online from an Indian online store called Lulupu- The Craft Lounge http://www.lulupu.com/shop
All those staying in Mumbai can buy some washi tape lookalikes from Gala Stores, Store 15, Crawford Market! You can get a pack of 10 for Rs. 30 only. How cool is that! :O